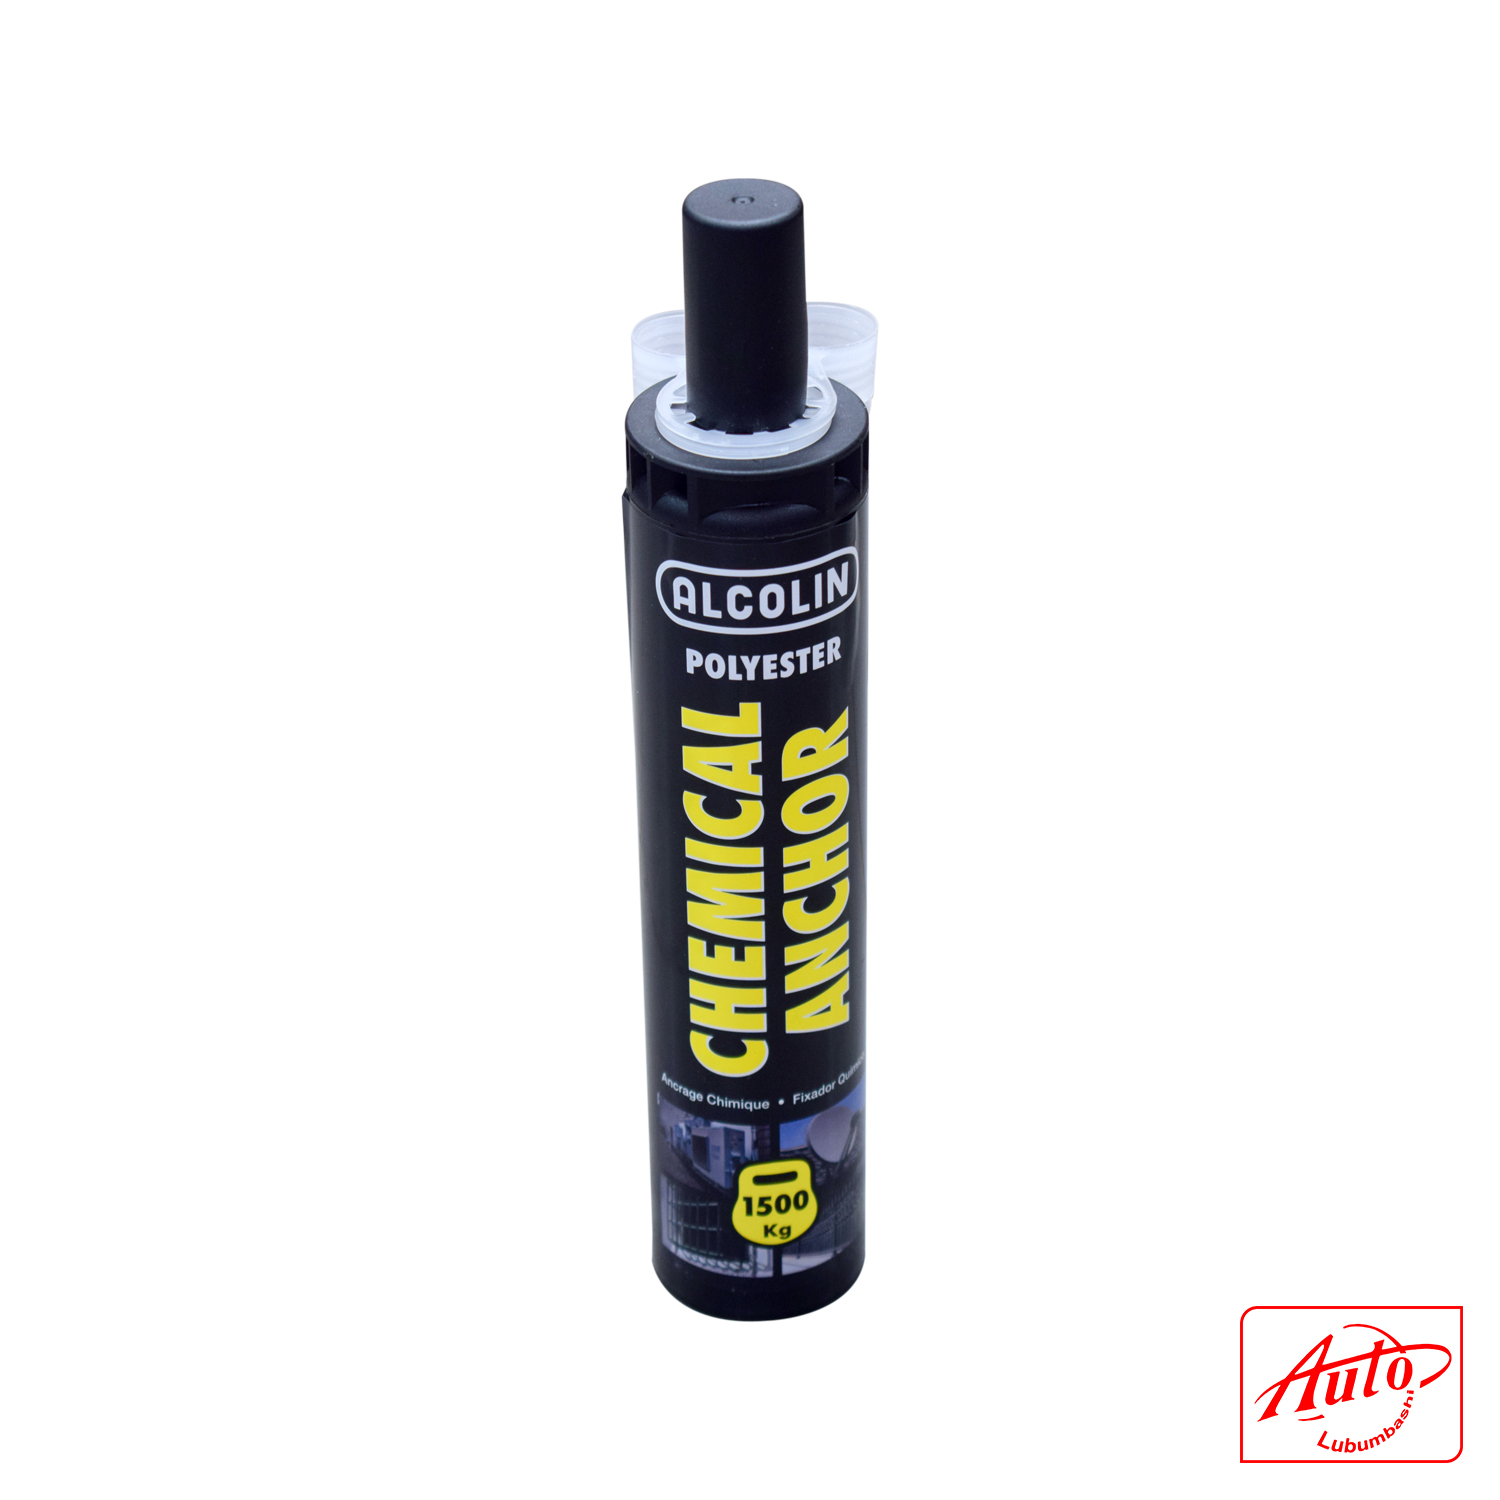
styrene free, high performance, rapid curing two-part chemical anchoring system. It is designed as a fast curing, high strength fixing anchor for medium to heavy-duty fixings. The product is extruded via the mixing nozzle with the use of a standard caulking gun directly into the hole.
General information :
Applications
Anchoring threaded steel rods and bolts into concrete and stone.
Crack and gap filling repairs in concrete and masonry.
Balcony repairs, installation of pool ladders, safety barriers and handrails.
Anchoring of railings, legs, machine housings and steel plates to concrete.
Adhesion
ALCOLIN POLYESTER CHEMICAL ANCHOR provides excellent primerless adhesion to natural stone, marble, slate, granite, brickwork, plaster, concrete, hollow walls, masonry, wood and steel. Specifically threaded steel rods made of zinc coated steel, stainless steel, high corrosion resistant stainless steel (HCR).
Limitations
Will not bond to plastics e.g., polyethylene, polypropylene, Teflon.
For optimum strength, embedment depths must be within the range 4 diameters to 20 diameters.
Not suitable for anchoring structures exposed to particularly aggressive conditions e.g., permanent, alternating immersion in seawater or the splash zone of seawater.
Not recommended for overhead installations.
For anchoring applications, concrete must be a minimum of 21 days old prior to anchor installation.
Safety instructions
ALCOLIN POLYESTER CHEMICAL ANCHOR is non-toxic, however, it is advisable to wear gloves in order to avoid direct skin contact. In the event of skin or eye contact, rinse thoroughly and immediately with water. Seek medical assistance if irritation or discomfort persists. Keep out of reach of children! Refer to our Safety Data Sheets for further toxicological information and comprehensive handling instructions.
Directions for use
The minimum application temperature is 5°C while the maximum is 30°C. The cartridge temperature must be at least 20°C.
Product Data
Fixing on concrete C20/25 with zinc plated threaded rods class 5.8
| Characteristic measurements | M8 | M10 | M12 | M16 | M20* | M24* | ||
| d0 | Hole diameter | [mm] | 10 | 12 | 14 | 18 | 24 | 28 |
| h1 | Hole depth | [mm] | 85 | 95 | 115 | 130 | 175 | 215 |
| hnom | Embedment depth | [mm] | 80 | 90 | 110 | 125 | 170 | 210 |
| hmin | Minimum base material thickness | [mm] | 115 | 120 | 140 | 161 | 218 | 266 |
| Tinst | Fixing torque | [mm] | 10 | 25 | 45 | 90 | 150 | 200 |
| scr | Centre spacing | [mm] | 240 | 270 | 330 | 375 | 510 | 630 |
| ccr | Edge distance tensile | [mm] | 120 | 135 | 165 | 168 | 255 | 315 |
| Smin | Minimum spacing | [mm] | 40 | 50 | 60 | 75 | 100 | 115 |
| Cmin | Minimum edge distance | [mm] | 40 | 50 | 60 | 75 | 100 | 115 |
| Sw | Hex key | [mm] | 13 | 17 | 19 | 24 | 30 | 36 |
| df | Hole through fixture | [mm] | 9 | 12 | 14 | 18 | 22 | 26 |
Recommended Loads
Fixing on uncracked concrete C20/25 with threaded rods class 5.8
| M8 | M10 | M12 | M16 | M20 | M24 | ||
| Tensile | [kN] | 9,0 | 14,0 | 18,4 | 23,3 | 29,6 | 38,7 |
| Shear | [kN] | 5,4 | 8,6 | 12,5 | 23,3 | 36,2 | 52,5 |
Fixing on solid brick and solid masonry
| Rod cl 4.8 | Hole diam | Hole depth | Fix. thickness | Torque | Recom. tensile | Recom. shear |
| M 8 x 100 | 10 mm | 85 mm | 10 mm | 7 Nm | 2,0 kN | 3,0 kN |
| M 10 x 115 | 12 mm | 90 mm | 20 mm | 15 Nm | 2,6 kN | 3,4 kN |
| M 12 x 130 | 14 mm | 100 mm | 20 mm | 25 Nm | 2,8 kN | 3,9 kN |
Fixing on perforated brick using the plastic sleeve
| Rod cl 4.8 | Hole diam | Hole depth | Fix. thickness | Torque | Recom. tensile | Recom. shear |
| M 8 x 100 | 16 mm | 90 mm | 10 mm | 5,0 Nm | 0,9 kN | 2,0 kN |
| M 10 x 115 | 16 mm | 90 mm | 20 mm | 7,5 Nm | 0,9 kN | 2,0 kN |
| M 12 x 130 | 16 mm | 90 mm | 30 mm | 10,0 Nm | 0,9 kN | 2,5 kN |
Curing conditions
| Resin temperature | Gel time (working time) | Cure time |
| 5°C | 15 min | 2 hours |
| 10°C | 15 min | 1 hour 30 min |
| 20°C | 15 min | 45 min |
| 25°C | 15 min | 30 min |
| 30°C | 15 min | 20 min |
Installation
| Drill the hole with the correct diameter and depth using a rotary percussive machine. Check the perpendicularity of the hole during the drilling operation. | |
| Clean the hole from drilling dust: the hole shall be cleaned by at least 4 blowing operations, by at least 4 brushing operations followed again by at least 4 blowing operations. Before brushing, clean the brush and check if the brush diameter is sufficient. | |
| Unscrew the front cup, pull-out the steel closing clip according to the following operations: – insert the mixer in the eye of the plastic extractor, – pull the extractor to unhook the steel closing clip of the foil. After that, screw on the mixer and insert the cartridge in the gun | |
| Before starting to use the cartridge, eject a first part of the product, being sure that the two components are completely mixed. The complete mixing is reached only after the product, obtained by mixing the two components, comes out from the mixer with a uniform color. Now the cartridge is ready to be used. | |
| Fill the drilled hole uniformly starting from the drilled hole bottom, in order to avoid entrapment of the air; remove the mixer slowly bit by bit during pressing out; filling the drill hole with a quantity of the injection mortar corresponding to 2/3 of the drill hole depth. | |
| Insert immediately the rod, marked according to the proper anchorage depth, slowly and with a slight twisting motion, removing excess of injection mortar around the rod. Observe the processing time according and curing time. |
Cleaning
Uncured adhesive can easily be removed from the hands or tools using a clean solvent-soaked cloth, e.g. turpentine or paraffin.
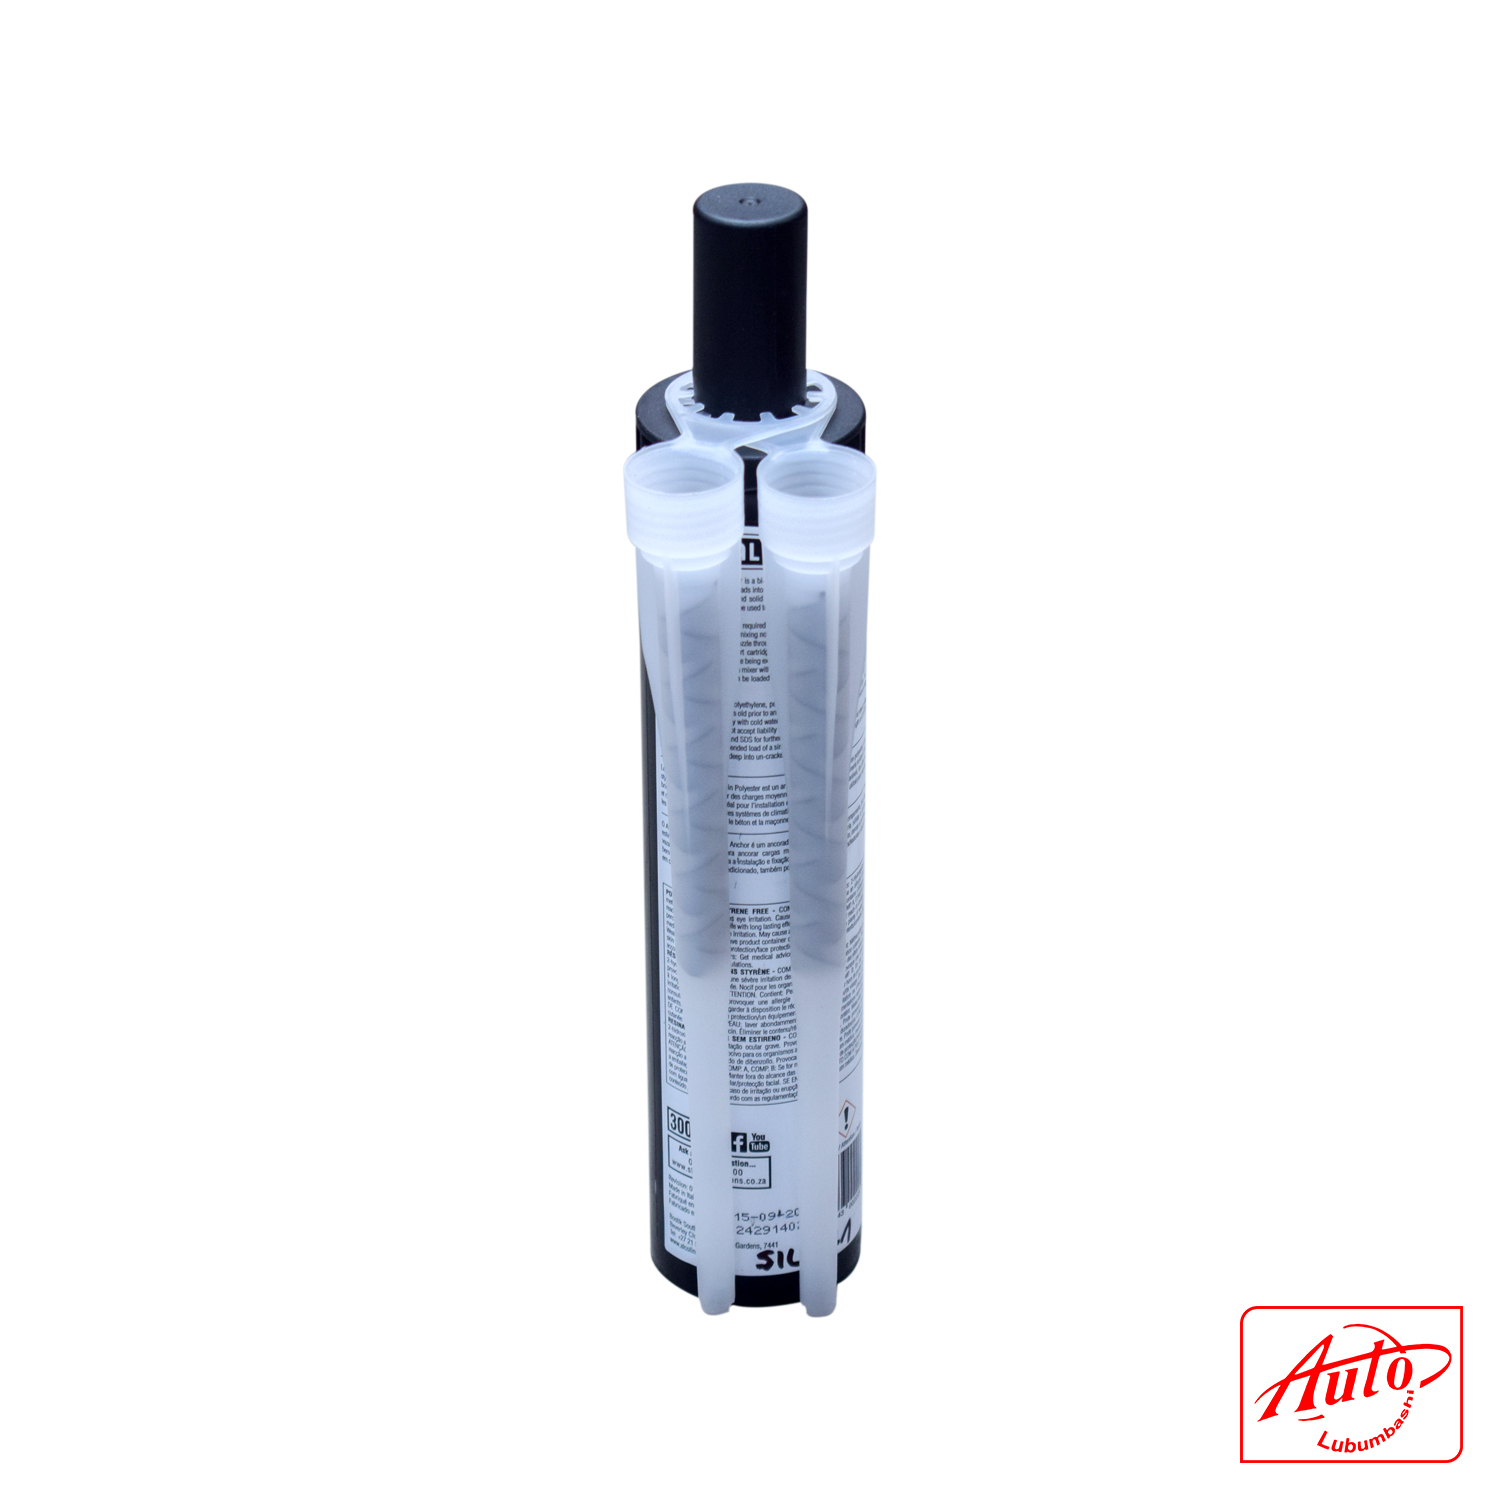
Product packaging : 250ml cartridge